How I began my journey with Golang on a Raspberry Pi running Docker and had my first real world application working within the afternoon: a client for my connected display server. Follow me step by step along the way.
Don’t Blinkt!
The Blinkt! is a little add-on for the Raspberry Pi.
It’s compatible with the Raspberry Pi’s 40 pin header.
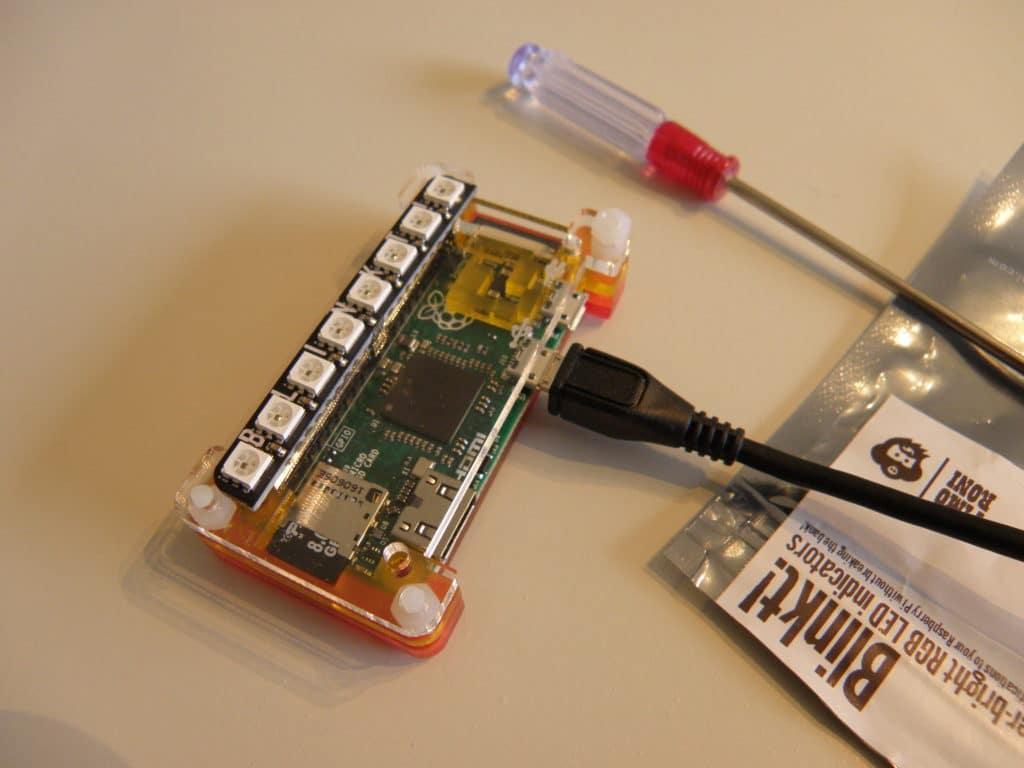
In a small form factor, that sits nicely on top of the GPIO Header, it provides Eight individually addressable RGB LEDs.
Cool thing: These LEDs do not interfer with the Pi sound output.
The manufacturer, @Pimoroni, provides a Python library with setup details on Github.
Don’t Go !
Go is a popular programming language created by Google. It’s a compiled, statically typed language that targets ease of use and adoption.
Go programs can be compiled and run on the Raspberry Pi, here are the pros :
- Self contained executable
- Compiled, runs faster
- Tiny static binaries, like… 1.5MB in size
The Blinkt! libraries have been ported to Go by @AlexEllisUK, so you can go straight ahead and use them in your projects!
> Star of Fork the Blinkt! Go Examples <
How easy is it really to try and learn Go?
I do know a few programming languages, but I never gave Go a try, yet.
Let’s take our Raspberry Pi for a walk, then!
As I didn’t want to fill up my base image with a bunch of files and dependencies, I used Docker to safely play and test in an isolated container.
curl -sSL get.docker.com | sh

usermod -aG docker pi
The setup
I cloned the example repo:
git clone https://github.com/alexellis/blinkt_go_examples.git
The ‘progress’ folder does have a sample Dockerfile, I used it as a starting point and built the Docker image
cd progress

docker build -t actuino/blinkt-go-dev-armhf:1 .
Note 1: I tagged the image with -t flag, so I was able to push it later with a ‘docker push’ command. You can now fetch this image without the need for building it with
docker pull actuino/blinkt-go-dev-armhf:1 No need then for the ‘git clone’ command nor ‘docker build’!
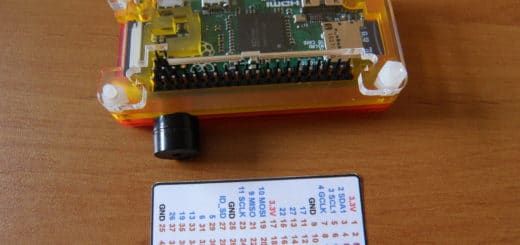
Note 2: I tested the Blinkt! on a Pi Zero. Nice toy, but not the best when it comes to CPU power. As the build took too much time, I simply build and pushed the image from a 4 cores Orange Pi Zero (took about 10 minutes) and then just pulled the image from the Pi Zero.

Side by side, an Orange Pi Zero and a Raspberry Pi Zero with the Blinkt!
First tests
docker run -it --privileged actuino/blinkt-go-dev-armhf:1
It worked on the first try: a red light bouncing on the Blinkt!, Cool.
Now, am I able to do more ?
Let’s try to modify the app.go code, here’s what I did in a few minutes:
- Change the color
- Add a trail to the moving spot
- Change color when it ‘bounces’
I simply edited the app.go code from the container itself.
For this, I had to run a shell instead of the default ‘progress’ app. That’s easy:
docker run -it --privileged actuino/blinkt-go-dev-armhf:1 /bin/bash

apt-get install nano

nano app.go
Here is what the code looks like now :
package main

import . "github.com/alexellis/blinkt_go"

func main() {
        brightness := 0.5
        blinkt := NewBlinkt(brightness)
        blinkt.SetClearOnExit(true)
        blinkt.Setup()
        Delay(100)

        r := 0
        g := 150
        b := 0
        for {
                for pixel := 0; pixel < 8; pixel++ {
                        blinkt.Clear()
                        blinkt.SetPixel(pixel, r, g, b)
                        if pixel > 0 {
                                blinkt.SetPixel(pixel-1, 0,25,0)
                        }
                        if pixel > 1 {
                                blinkt.SetPixel(pixel-2, 0,10,0)
                        }
                        if pixel == 0 || pixel == 7 { blinkt.SetPixel(pixel, 100,50,0) }
                        blinkt.Show()
                        Delay(100)
                }
                for pixel := 6; pixel > 0; pixel-- {
                        blinkt.Clear()
                        blinkt.SetPixel(pixel, r, g, b)
                        if pixel < 7 {
                                blinkt.SetPixel(pixel+1, 0,25,0)
                        }
                        if pixel < 6 {
                                blinkt.SetPixel(pixel+2,0,25,0)
                        }
                        if pixel == 0 || pixel == 7 { blinkt.SetPixel(pixel, 100,50,0) }
                        blinkt.Show()
                        Delay(100)
                }
        }
        blinkt.Clear()
        blinkt.Show()
}
(I know it's nor pretty, efficient nor earth-breaking, I just tweaked a few lines and added a bunch of conditions to test)
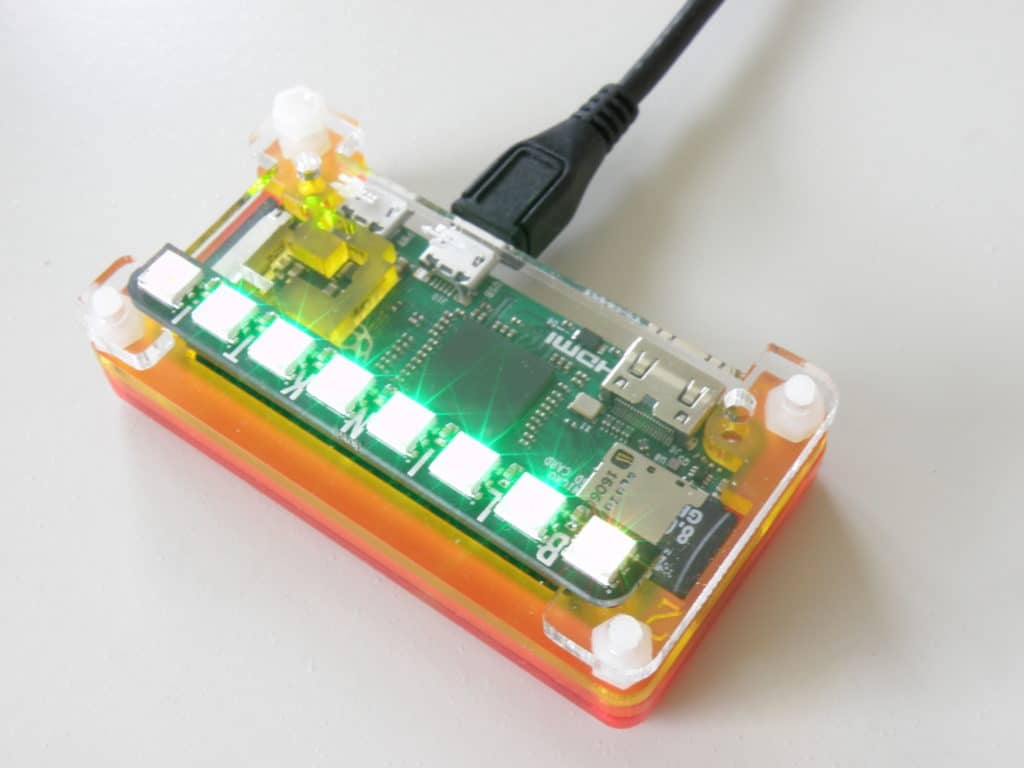
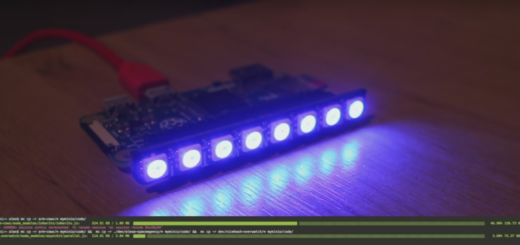
Does it work? Yes!!!
See from behind a plastic diffuser: Catch the glowing worm!
Let's Go further, shall we?
Did I learn Go yet? Not so sure. Just a first contact, that went pretty well.
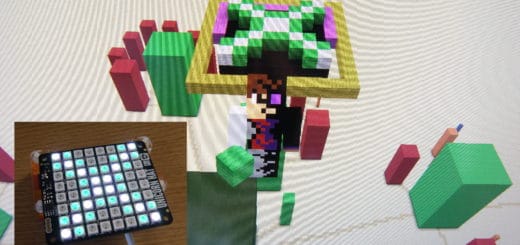
But I had another idea in mind. Remember the Minecraft experiment we did, and our 'Unicorn' display with a client and server?
> Check how to update a physical LED display from within a virtual Minecraft World <
The Unicorn Connected Display uses a 8x8 or 4x8 LED array. Why not 'extend' it to the Blinkt! 1x8?
I felt pretty optimistic. In fact, all I needed was a WebSocket client, some code to copy/paste, maybe a Stack Overflow tab and it'll be ok in a snap. Really? Was it so simple?
The quest for a Socket.Io client in Go
Our Unicorn server (NodeJS) relies on the Socket.Io WebSocket library.
A Google search showed several libraries of interest. I tested 2 good candidates with the display server.
Note: the Unicorn Server has a Raspberry Pi Docker image too, docker run -d -p 80:80 actuino/unicorn-server-armhf:1 so it was easy as Pi(e) to run and test against.
When importing a new library in a Go project, no need to fetch the code yourself: You just add the name of the library in the code, then run a go get -v -d and it'll fetch the code itself.
Then a simple go build (may take a few minutes) and you end up with an executable file named from your folder, that you can run or ship.
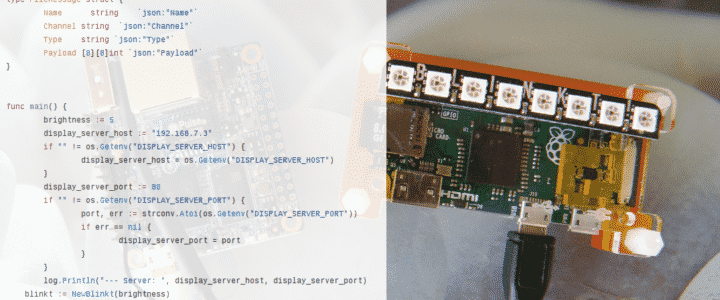
Look Ma, my first Go program!
Once I got a working client prototype - thanks to the examples - it was just a matter of mashing up the display and client code.
Good news! The Unicorn Protocol I designed use simple Json data payload, and Json is well understood by Go, nice!
And yes, I had to use Stack Overflow and did a few copy/paste.
The final code is available on Github: Star and clone the code, then try it for yourself, Here is the readme with a step by step how to.
The final result
It took an afternoon to install, test, and play with Go on the Pi and to have a first (non trivial) program working.
Mission accomplished without friction, I'll play with Go again.
We now have a lightweight connected RGB display that connects to a display server, and can be updated in real time from any source: it accepts WebSocket or HTTP Post, so virtually anything can pilot the display, including mobile app, web pages, IOT sensors...
Here are some practical applications we think of:
- A busy / Available signal for Open spaces
- A connected Pomodoro that sits on top of your screen
- An alert signal when some website goes down
- A flashing light when the Pi Zero W are in stock again at your favorite reseller!
- A CPU Load / Disk space indicator
- A mood light that wakes you up with a gentle progressive light in the morning (the LEDs are really really bright at max level)
- And more, stay tuned and tell us your ideas!
More about Go on the Raspberry Pi?
Check Alex's blog: he published several blog posts about Go, Docker, Testing in Go, including a tutorial to fetch Json from an API: a must read!
Next step for our code? Use Go Tickers and channels to enable smooth animated displays.
Follow us on twitter: @Actuino
You can join the conversation and comment/upvote on reddit too.
Je te souhaite une bonne continuation et felicitations pour ton blog!